
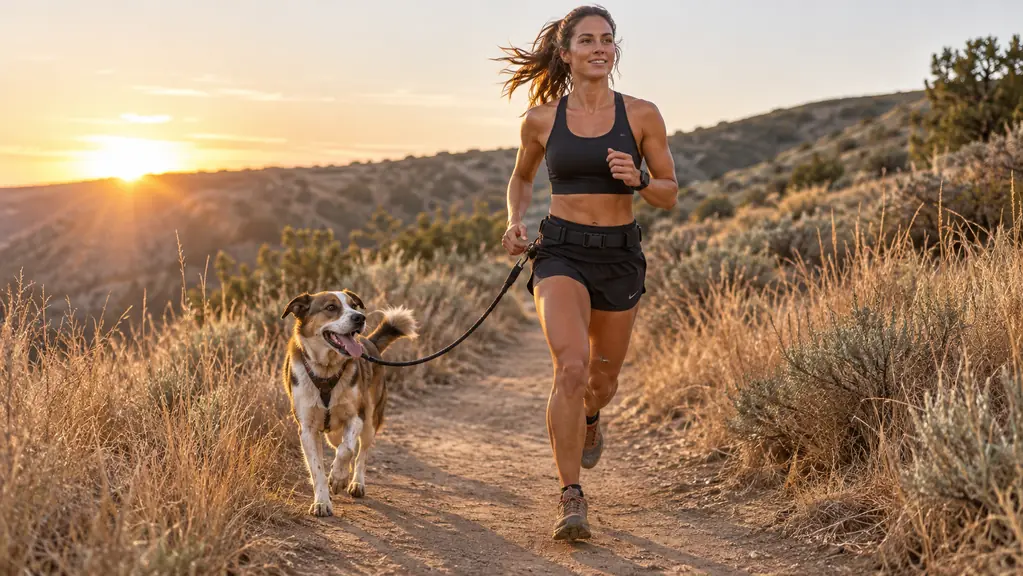
Juno is four years old, forty pounds, and a Border Collie, which means she believes every run is a race and I am the slow one holding her back. For two years I ran with a loop handle around my wrist. It worked fine until the morning she spotted a jackrabbit and my shoulder found out what forty pounds of acceleration feels like from a standstill. That was the end of handheld running for me and the start of a long, mildly humiliating education in hands free setups. I have since put a few hundred miles on the iYoShop hands free leash, including a wet spring of canicross training on foothill trails outside Boise.
Here is the part nobody tells you. The leash is the easy half. The hard half is teaching a dog who has spent her whole life at the end of a line that the right place to be is beside your hip, at your pace, for miles. Skip that work and the best setup in the world becomes a forty pound pendulum tied to your waist. Do the work and you stop thinking about the leash at all, which is the entire point of going hands free. What follows is the exact sequence I would hand a friend who asked me how to start, in order, including the mistakes I made first so you can skip them.
The belt I stopped swapping out after two seasons of trail miles
The iYoShop hands free leash adjusts from a 27 inch waist to 48 inches, runs 68 inches of line, and carries two shock absorbing sections, a zipper pouch for keys and bags, and a D-ring for a clicker. It is the setup I keep coming back to for canicross training and easy trail days.
Amazon Check Today's Price on Amazon →Step 1: Fit the Belt and the Clip Before You Take a Single Step
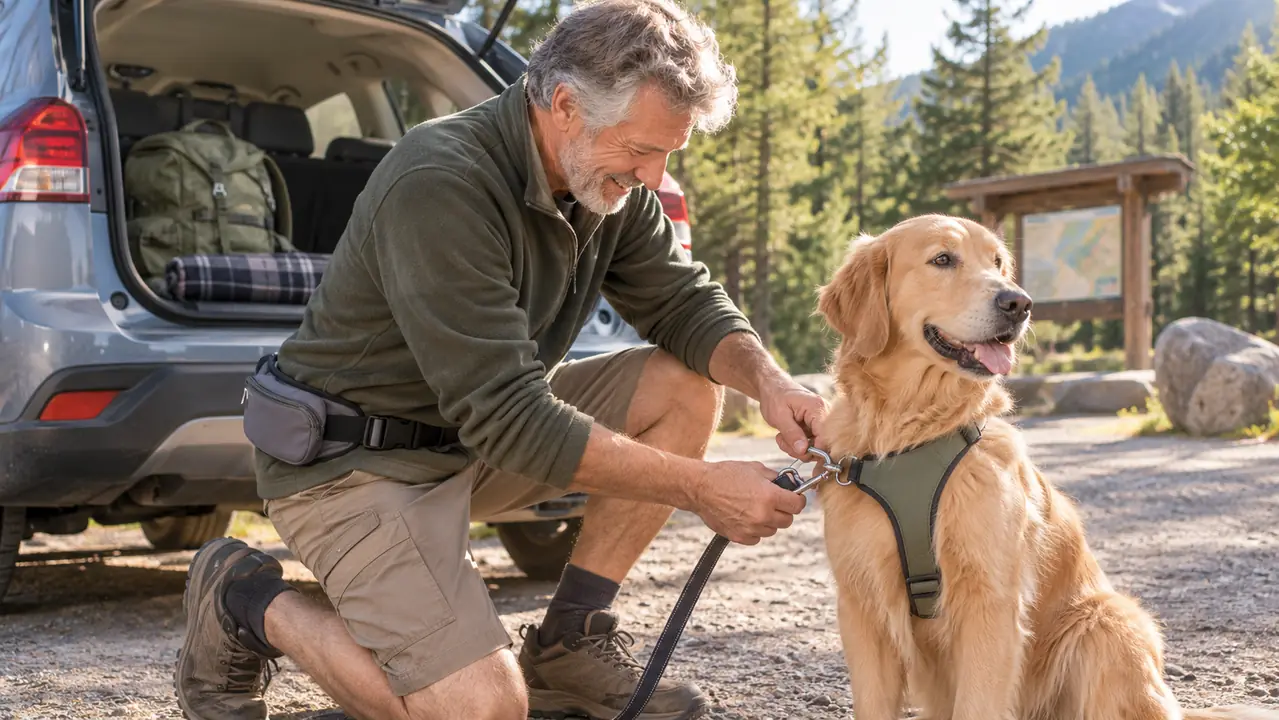
A hands free leash that fits badly is worse than a handheld one, because the failure happens at your lower back instead of your wrist. Put the belt on over what you actually run in, not over a bulky winter jacket you will never race in. This waist belt adjusts from 27 inches to 48 inches, so start somewhere near the middle of that range and slide it down until it sits across the top of your hip bones rather than your stomach. Clip the buckle, then push two fingers under the band. If you can slide a whole flat hand in, it is too loose and it will rotate the first time the dog surges.
The clip end matters as much as the belt. This leash uses a 2 inch heavy duty clip with a D-ring beside it, and the whole unit weighs 9.6 ounces, light enough that Juno does not fuss with it on her harness. Before your first run, do a static test. Have someone hold the clip while you walk backward and lean your weight into the belt. Nothing should slide, twist, or bite into you. If the belt climbs toward your ribs, it is too high. If it drags at your thighs, it is too low. Give this five minutes. It is the cheapest five minutes in the whole process.
Step 2: Teach the Side and the Start Cue on Walks, Not Runs
Pick a side and never change it. Juno runs on my left because that keeps her off the traffic side of a road and away from my dominant hand. For two weeks, every walk was a positioning drill. When she drifted ahead of my hip, I stopped moving. When she came back, we went forward again. Dogs learn this fast, because forward motion is the reward and most of them want it more than they want the treat in your pocket.
Name the behavior. I use "let's go" for a start and "easy" for a slow down, and I say them the same way every time, in the same tone, so they mean exactly one thing. The iYoShop leash helps here in a way I did not expect. There are two extra handles built into the line, one at the waist and one further down, so when Juno blew through "easy" at the sight of a loose dog, I had a handhold a few inches from her harness instead of a rope sliding through my fingers. Use those handles to guide, not to yank. A hard correction on a belt anchored at your hips teaches a dog that her harness hurts, and that is a hard lesson to undo.
Step 3: Add Running in Intervals, Not Miles
The mistake I made with Juno was assuming fitness carried over from fetch. It does not. Fetch is sprint, stop, sprint, stop. Running is steady work, and a high drive dog will run herself into a hole before she shows you she is tired. So we started with intervals. Five minutes of brisk walking to warm up, then one minute of easy jogging, two minutes of walking, repeated six times, then a five minute cool down. That is twenty eight minutes of clock time and about eight minutes of actual running.
We held that pattern for two weeks, then moved to two minutes of jogging and one minute of walking. By week six we were running continuous for fifteen minutes at a pace that felt almost too slow, which is very close to the right pace. A working breed can outrun me any day of the week. The goal is not to tire her out. The goal is a shared rhythm we can both hold for an hour without paying for it tomorrow.
Build the long run last, and build it by about ten percent a week at most. If Juno's stride gets short, if she forges ahead and then drops back, if she licks her lips or her tail goes stiff and low, we walk. Those signals show up long before the dramatic ones do, and they are the ones worth learning to read.
The leash is the easy half. The hard half is teaching a dog that the right place to be is beside your hip, at your pace, for miles.
Step 4: Put Heat, Paws and Joints Ahead of Your Pace Chart
I live where July mornings hit the high seventies before the sun is properly up, so most of our summer running happens at first light or not at all. Heat is the thing that ends runs early in my log, not fitness. Before we leave, I press the back of my hand to the pavement for five seconds. If it is too hot to hold there comfortably, it is too hot for paw pads. Carry water for both of you, plan a route with shade, and cut the distance rather than the pace when the temperature climbs. A dog with a thick coat cools far less efficiently than you do, and she will keep going because you are going.
Paws and joints get the same respect. I check Juno's pads after every trail run, look for small cuts and packed grit between the toes, and keep her nails short so her foot lands the way it is supposed to. Ask your vet before you start a running program, especially with a dog under about eighteen months, because growth plates are still open and mileage at that age is a real risk. Older dogs, overweight dogs and dogs with known joint issues need a vet conversation first, not a training plan from a stranger on the internet. That includes me.
Step 5: Let the Leash's Own Features Solve the Messy Moments
The zipper pouch on the waist belt is the feature I use most and expected least. It holds a phone, a key, and two bags, which means I stopped wearing a running vest just to carry junk on a short canicross session. The D-ring next to the clip takes a clicker or a small tag without adding another strap. The 2 inch clip is easy to work with cold hands, which matters more than it sounds like it does in February. The whole leash is 68 inches, long enough that Juno is not crowding my feet on a descent and short enough that I can gather it up fast at a road crossing.
About the two shock absorbing sections, honestly. They take the edge off a sudden stop, and on a forty pound dog that is a real difference in how my lower back feels the next morning. They do not erase a hard lunge. If your dog is a committed puller, no bungee section on any leash is going to fix that, and step two is the fix. Check the stitching where the line meets the clip and where the handles are sewn in every few weeks, rinse the whole thing after muddy runs, and know that it carries a one year warranty. Gear wears out. Look at it instead of assuming.
What Else Helps
A well fitted harness with a front and back attachment point gives you options. I run Juno on the back ring for steady work and switch to the front for crowded trailheads, because a front attachment pulls her chest toward me and kills forward drive for a minute while we sort ourselves out. A short traffic handle on the harness is worth having for road crossings. So is a cue that means stop and stand still, which I taught with a hand target on the kitchen floor long before it ever mattered on a trail.
Build a cooldown habit and keep it boring. We walk the last ten minutes, then Juno gets water, a pad check, and a lie down on the rug while I stretch. Consistency here is what keeps a high drive dog sound over a season. If you are still deciding between hands free and a regular handheld line, there is a full comparison on this site, along with a long term review after a season of real miles. Both are worth ten minutes before you spend anything.
One last thing I tell every owner who asks me at the club field. Train the walk before you train the run, because the run is just a walk moving faster with better manners. Two weeks of walking drills buys you years of quiet miles. Skipping them buys you a dog who treats your waist belt like a sled harness, and you will be the one getting pulled.
Two handles, two shock absorbers, one less thing to think about at mile three
The iYoShop hands free leash is what I reach for on trail days and canicross sessions: adjustable waist belt, 68 inch line, zipper pouch, and a clip you can work with cold fingers. Start with the walking drills, then let the gear get out of the way.
Amazon Check Today's Price on Amazon →