
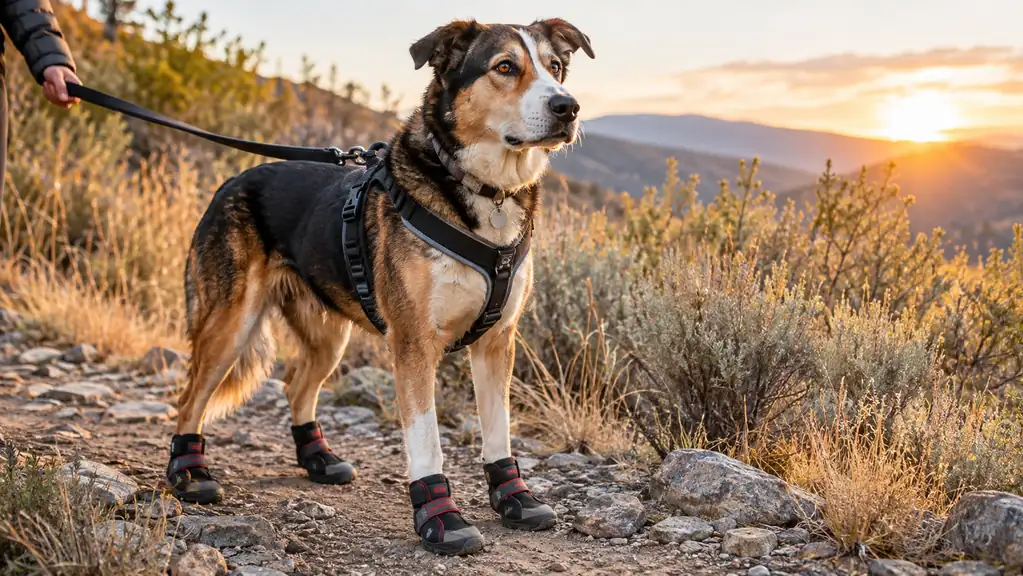
Juno does not high-step because she is dramatic. She does it because four pieces of fabric and rubber on her feet change every bit of feedback she gets from the ground. The first time I put QUMY dog shoes on her, she lifted each paw like she was walking on hot coals, then stood in the driveway and refused to move. She is a 4-year-old Border Collie, about 40 pounds, and she will chase a ball until I make her stop. Watching her lock up over footwear was a useful reminder: boots are a training problem before they are a gear problem.
The fix is not a tighter strap or a firmer voice. It is a sequence. Measure the paw. Let the dog see the boot. Reward the first touch. Add one boot at a time. Then add movement on a surface the dog already trusts. I have used that sequence on Juno for hot pavement in the Boise foothills, for gravel that chews up her pads, and for the cold mornings when the club field holds frost. The QUMY set has stayed in our rotation because the hook-and-loop closure is easy to adjust, the sole is slip-proof, and the four shoes are light enough that Juno can still trot. It is not a quick fix. It is a decent tool that works when the introduction is slow.
The First Boot Should Go On and Come Off in Under a Minute
QUMY's set includes four shoes and one instruction manual. Start with the size that matches the width of your dog's paw, then use the hook-and-loop closure for short repetitions before you ask for a walk.
Amazon Check the QUMY Size Chart on Amazon →Step 1: Measure the paw at its widest point
Measure on a hard floor, with the dog standing square. Put a piece of paper under one front paw and mark the widest point across the paw and the longest point from heel to toe. Do the same on a back paw. Front paws are often wider, and a boot that fits the back can pinch the front. QUMY lists size 7 at 2.8 by 3.2 inches, width by length, so the width is the number I check first.
Do not choose a size from your dog's weight. The listing says plainly that weight can mislead you, and I believe it. Juno is 40 pounds, which puts her in a range that covers several breeds with very different feet. Her paw width is what tells me whether a boot will sit on her foot or slide around it. The whole QUMY set weighs 7.04 ounces, which is light enough that she can still pick up her feet, but only if the boot is not slopping side to side.
Measure again if the number lands near a break between sizes. The hook-and-loop closure gives you some adjustment, but it cannot fix a boot that is a full size off. Check all four paws and write the numbers down. I keep Juno's paw width in a note on my phone so I do not have to guess when I order again.
A boot that is too long will hit the front of the paw when the dog trots. A boot that is too wide will twist. The width and length numbers on the QUMY size chart are there for a reason. I check both, then I watch the dog move. The numbers get me close. The first three steps tell me the rest.
Step 2: Make the boot boring before it goes on
Put the boots on the floor during a quiet moment. Let the dog sniff them. Drop a treat near the boot, then on top of the boot, then inside the opening. Do not strap anything yet. The goal is for the boot to become furniture, not an event. Juno is motion motivated, so I do this after a walk, not before one. A tired dog is less likely to treat a new object as a chase toy.
The QUMY boots are made from faux leather, nylon, polyester, rubber and silicone. They have a smell and a texture that is new to a dog. Some dogs will mouth them. If your dog starts to chew, put the boot away and end the session. The set is not a chew toy, and a chewed strap is a fit problem. One short session is enough. Three sniffs and a treat is a win.
If your dog backs away, put one boot on the floor and walk away. Let the dog choose to come back. I have had better luck ignoring the boot than presenting it like a prize. Curiosity does more work than pressure.
If your dog is worried about the sound of the closure, open and close the strap in your hand first. Let the dog hear it while you feed a treat. Then touch the strap to the paw without fastening it. Sound is part of the introduction, especially for a dog that is noise sensitive.
Step 3: One boot, one strap, one treat
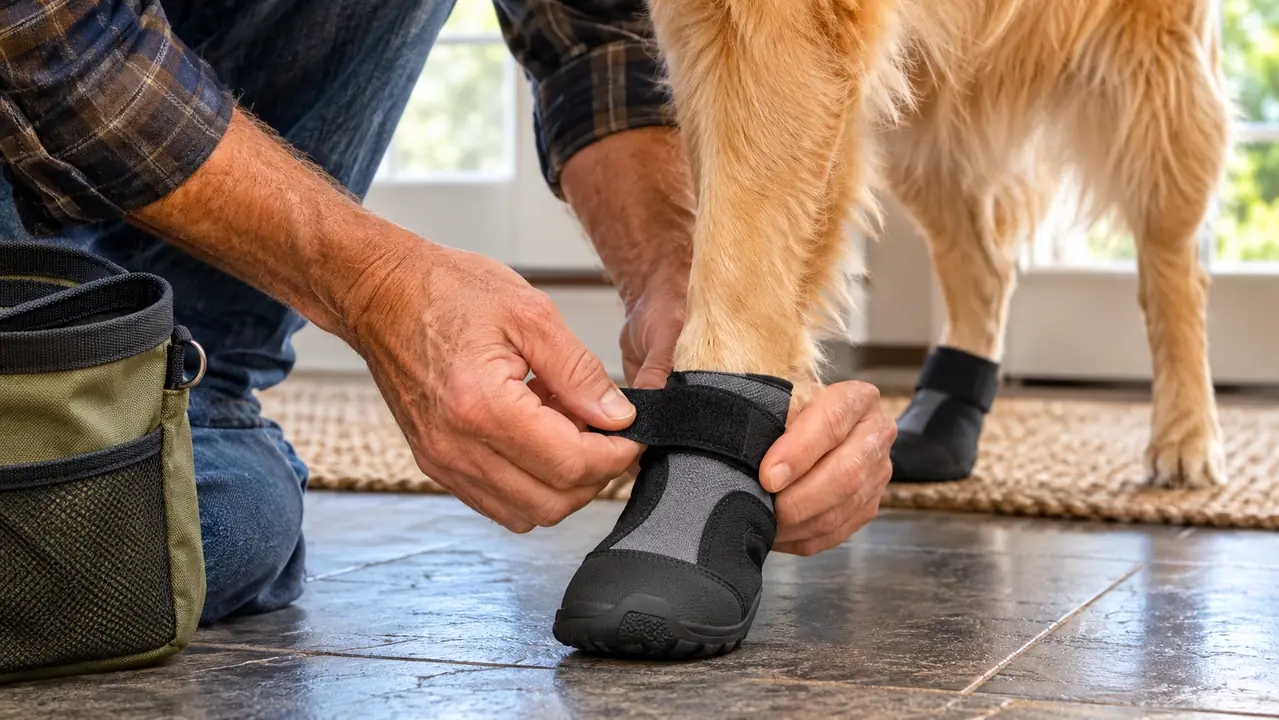
Start with a front paw. Hold the boot open, slide the paw in, and close the hook-and-loop strap. It should be snug enough that the boot does not twist, but not so tight that the strap digs in. I check by watching Juno take one step. If the boot turns, I reset it. If she lifts the paw and holds it, I loosen the strap a notch and try again.
Feed a treat while the boot is on, then take the boot off immediately. That is the whole rep. Do not ask for a walk. Do not ask for a sit. The first lesson is that the boot goes on, something good happens, and the boot comes off. Repeat two or three times, then stop for the day. The hook-and-loop closure is easy on and off, which is why this step is possible without a wrestling match.
When the front paw is calm, repeat the same sequence on a back paw. Back paws are harder to reach, so I kneel beside Juno rather than reaching over her. Reaching over a dog's back can make her duck away. If your dog has a sensitive back or a joint issue, sit on a stool and bring the paw toward you instead of folding yourself over the dog.
Step 4: Add movement on a surface your dog already knows
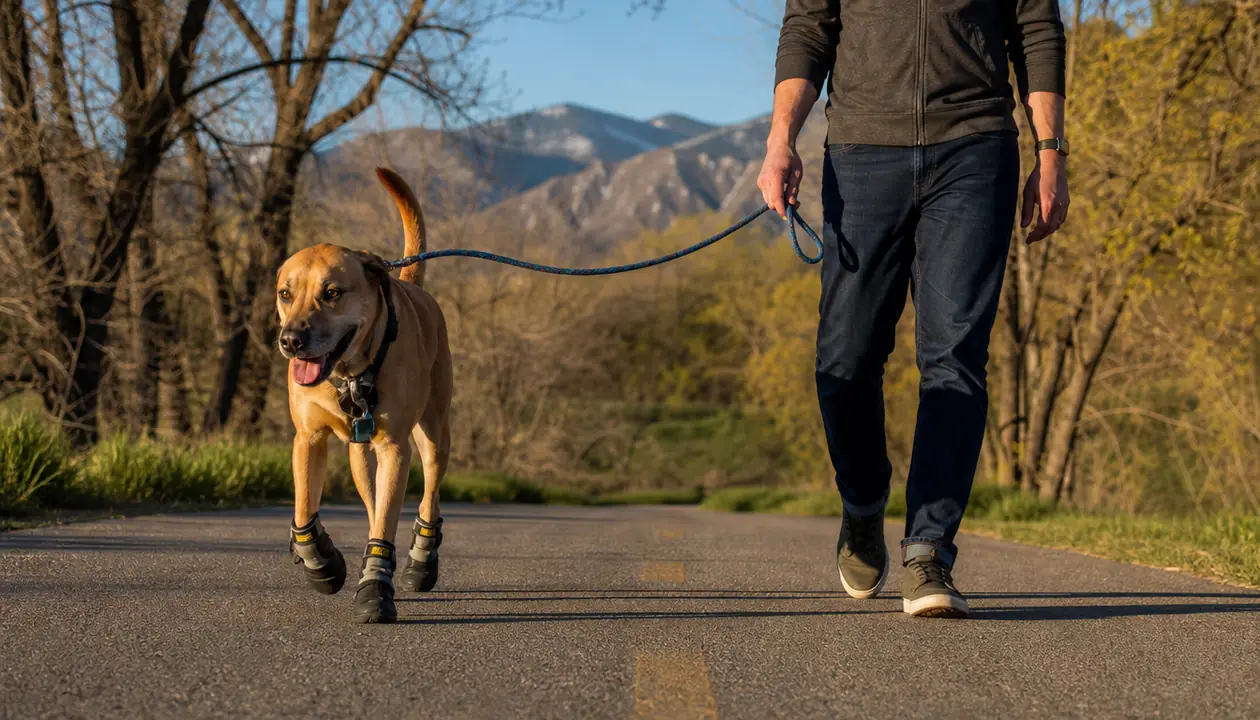
Put one boot on and take three steps in the hallway. Toss a treat a few feet ahead so the dog has a reason to move. If the dog high-steps, keep the session short and let the dog figure out where the boot ends. The slip-proof sole gives traction, but the dog still has to learn how the boot feels on the ground. A rug or a flat driveway is easier than gravel.
Add a second boot when the dog will walk with one. Then a third, then a fourth. I do not move to four boots in one day. Juno got two front boots for two days before I added the back pair. The first time she wore all four, I asked for five steps, not a mile. Duration before distance. If the dog bunny hops or refuses to move, go back to one boot and reward a single step.
Check the straps after a few minutes of movement. Hook-and-loop can shift when a dog trots, and a loose boot is more likely to twist. I also check the heel and the top of the paw for rub marks. The rugged sole is built for rough ground, but the boot still has to stay where you put it. A loose boot is not protecting the paw.
I also practice a stand on the mat and feed between each boot. That gives Juno a job and keeps her from pulling her paw away. If your dog does not know a stand, skip it and keep the treat coming.
Juno stopped lifting her paws when the reward came before the strap and after the first step. The boot did not change her mind. The order did.
Step 5: Proof the fit on real ground, then check the paws
Start with short walks on the surface you bought the boots for. For hot pavement, press the back of your hand to the ground for five seconds. If it is too hot for your hand, it is too hot for paws, even with boots. QUMY dog shoes are made for hot pavement and winter, but they do not make a heat wave safe. Walk early, stay on grass when you can, and keep the session short.
For snow and cold, put the boots on before the dog leaves the car. Snow can pack into the tread and around the top of the boot, so check the paws when you stop. Remove the boots if snow balls up inside, and dry them before the next walk. The boots are hand wash only. I rinse them in the sink with cool water and let them air dry fully before they go back in the bag.
At the trailhead, I put Juno's boots on in the hatchback with the back hatch open. She stands on the cargo mat while I fasten each strap. It is a small routine, and that is the point. The same order every time tells her what is coming. If she pulls a paw away, I stop and reset instead of chasing the foot. A boot that goes on calmly is more likely to stay on.
What Else Helps
Keep the boots clean and dry. Hand wash only, cool water, air dry. Do not put them in the dryer. Inspect the hook-and-loop closure for grit after a muddy walk, because grit makes the strap less secure. I keep a small brush by the door and give the closures a quick pass before I put them away.
Trim nails and check paw pads before you start. A long nail changes how a paw sits in a boot. A cracked pad needs rest, not more miles. If your dog is limping, see your vet before you try to solve it with footwear. Boots protect paws, but they do not fix an injury.
Use a treat pouch and a mat by the door. The mat gives the dog a place to stand, and the pouch keeps your hands free. I also keep a towel in the car for wet paws. The QUMY set lives in a mesh bag in the hatchback so I do not have to hunt for four boots at the trailhead. A missing boot is a ruined plan.
Watch for rubs at the heel, the wrist and the top of the paw. Red skin means stop. If the boot rubs, the fit is wrong or the strap is too tight. Do not push through it.
When Boots Are the Wrong Tool
Boots are not for every dog. A dog with severe arthritis may do better with shorter walks and a softer surface than with four pieces of footwear. A puppy that is still growing may change size in a month. A dog that panics, drools or freezes for more than a few sessions may need a different approach, and that is not a failure. The point is the dog's comfort, not the gear.
If the pavement is too hot, leave the dog home. If the trail is covered in salt, rinse the paws after the walk. If your dog has a medical issue, ask your vet. I use QUMY because it fits Juno and the closure is easy to adjust, but I still check every paw after every walk. That check is the part that keeps her sound.
Measure Once, Strap Calmly, Check the Paws After
QUMY dog shoes come as a set of four with one instruction manual. Size 7 is listed at 2.8 by 3.2 inches, width by length. Use the width measurement, not the weight range, and check the current size chart before you order.
Amazon See the QUMY Dog Shoes on Amazon →