
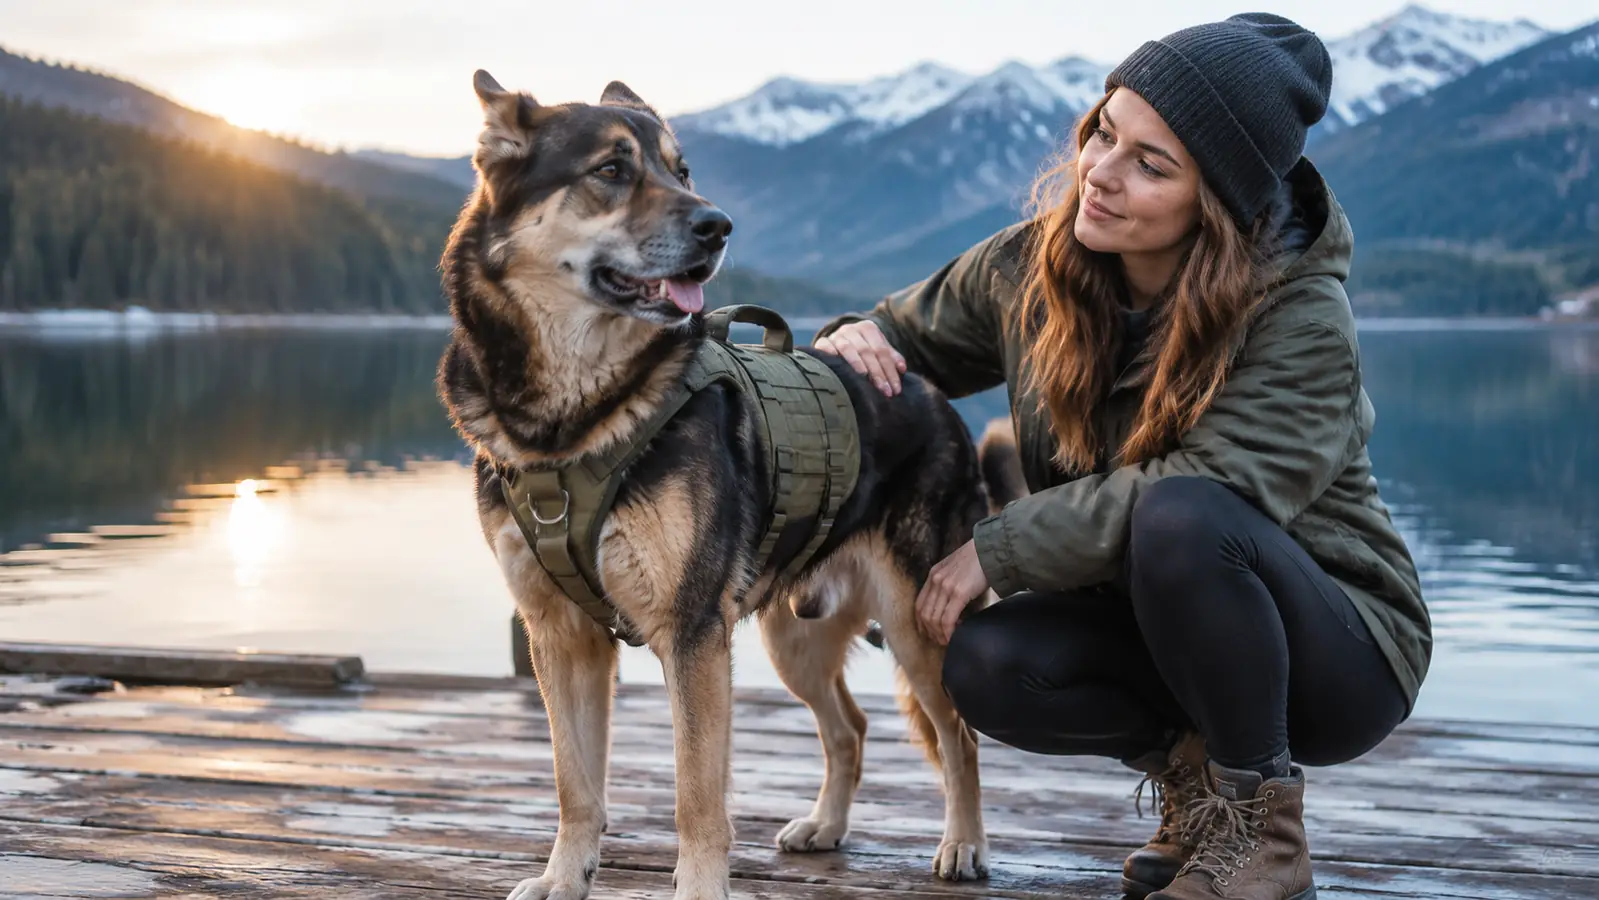
The first time I put a life jacket on Juno, she walked into the reservoir like a dog wearing a backpack that belonged to someone else. The vest floated up around her ears, the front edge pressed into her throat, and she paddled with her chin pointed at the sky instead of swimming. She was fine. The fit was not. That was four summers ago, and it is the reason I now spend ten minutes measuring before I spend ten seconds buckling. The vest I keep coming back to for her is the Outward Hound Granby Splash, and this is the exact fitting sequence I run on it, step by step, in the order I actually do it.
Here is what a loose vest does in the water. It rides up. The flotation shifts toward the neck, the front legs lose their reach, and the swim turns into a vertical paddle that burns energy fast and gets the dog nowhere. On a high-drive dog that is a bad combination, because she will keep going until she is spent and then refuse the water for a month afterward. A vest that is too tight is its own problem: it rubs behind the front legs, it pins the shoulder, and it can chafe a forty pound dog raw in a single session. The size Medium covers a chest girth of 21 to 27 inches, which is a six inch window, and a six inch window is exactly where bad fits hide. Measure first, adjust second, test third.
Fit it once, correctly, and the water stops being a negotiation
The Outward Hound Granby Splash in size Medium fits chest girths from 21 to 27 inches, with adjustable straps and quick-release buckles so you can fine tune the fit at the water's edge instead of driving home and guessing.
Amazon Check Today's Price on Amazon →What the Granby Splash Gives You to Work With
Before the steps, know the parts you are actually adjusting. The Granby Splash is built as a maximum-buoyancy vest for medium dogs, and the listing puts size Medium at a chest girth of 21 to 27 inches with a minimum weight recommendation of 13.61 kilograms. Treat the weight number as a rough filter for shopping, not a fitting instruction. Two dogs of the same weight can be four inches apart around the ribcage, which is why the tape measure comes first in every step below and the scale never comes at all.
The adjustable straps and the quick-release buckles are the entire fitting mechanism. There is no rigid shell, no dial, no app, nothing that self-corrects. You tighten a strap, you watch what the vest does when the dog moves, and you tighten or loosen again. The bright fabric and reflective accents are there so you can find your dog at dusk or in chop, and they do that job well, but a reflective panel only helps if the vest is sitting where it should be on the body. Fit first, visibility second.
Step 1: Measure Chest Girth, Not Weight
Stand the dog on a flat surface and run a soft tape around the widest part of the ribcage, just behind the front legs and behind the shoulder blades. The tape should sit snug against the coat without compressing it. Juno measures 26 inches around and weighs about 40 pounds, which puts her one inch inside the top of the Medium window. Read the number directly off the tape rather than eyeballing it, and measure twice if your dog is wiggly, because an inch of slop in the measurement is an inch of adjustment you no longer have.
Do not size off weight. The 13.61 kilogram minimum weight recommendation on the listing is a starting filter for a stranger shopping online. A deep-chested dog and a barrel-chested dog at the same scale weight take different sizes, and a lean, athletic dog often needs a smaller vest than its weight suggests. This is the single most common mistake I see at the club field: someone bought the size that matched the number on the scale, and the vest has been fighting the dog ever since.
If the tape lands at 26 or 27 inches, you are at the top of Medium and should expect to run the straps almost all the way out on day one. If it lands above 27, size up. Below 21, size down. Do not buy Medium and hope, because a vest that starts outside its own window has no adjustment left to give, and you will spend every session chasing a fit that was never there.
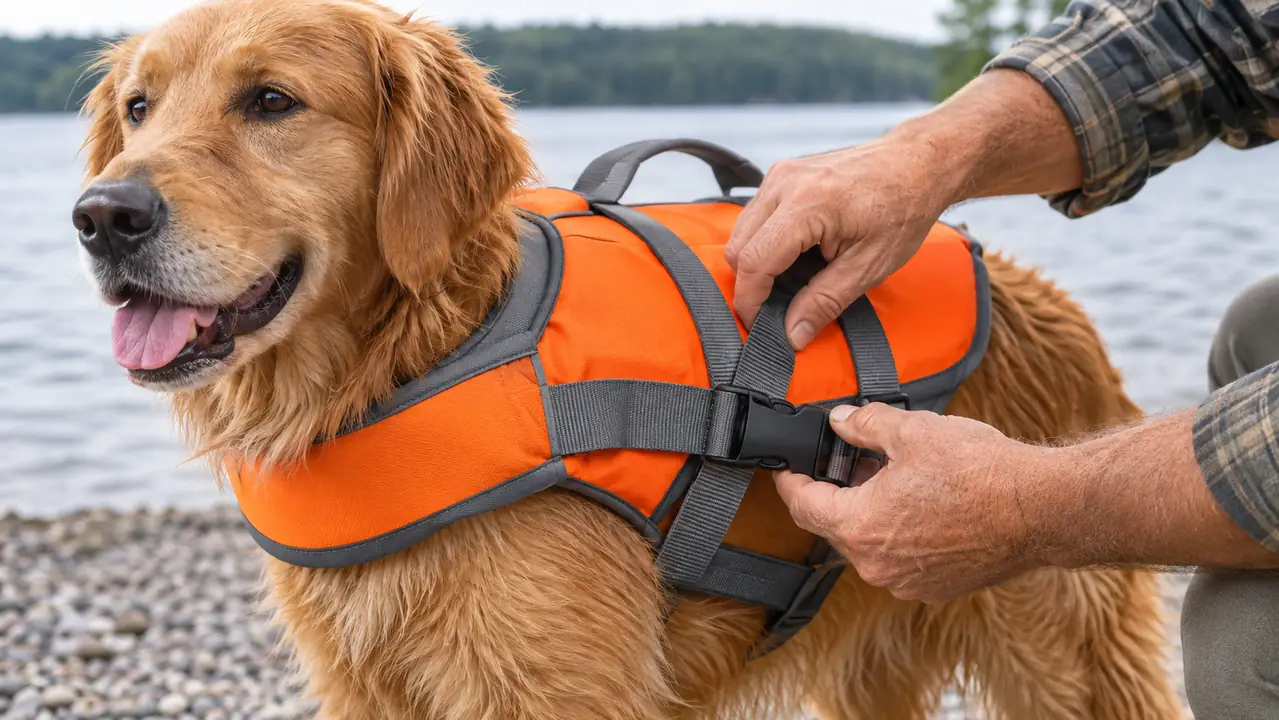
Step 2: Get It On and Settle It Behind the Shoulders
Slip the vest over the head through the round neck opening and settle the front panel so it sits behind the shoulder blades rather than on top of them. This is the placement error I correct most often. The vest gets pushed forward, the front edge crowds the throat, and the dog starts lifting its chin to get away from the pressure. A dog swimming with its chin up is a dog working twice as hard as it needs to.
Once the vest is on, run a flat hand under the front edge. You should be able to slide your palm between fabric and coat without forcing it. If the front edge sits down in the soft hollow at the base of the neck, walk the whole vest back an inch or two and check again. On a deep-chested dog, keep the rear edge ahead of the hips so the back legs can still swing freely. The vest should cover the ribcage and stop there.
Then let the dog stand up and shake. A good shake settles the vest the way it will actually sit in motion, and it shows you immediately whether a panel has folded under or a strap has twisted. I do this on the tailgate of the hatchback before Juno ever gets near the water, because a twisted strap that feels fine standing still will dig in after two minutes of swimming.
If your dog freezes or backs away at this stage, stop and take the vest off. Put it on the floor where the dog can sniff it, feed a few treats next to it, and try again in five minutes. A bad first association costs more than a slow introduction, and a dog that panics in the water is a genuine safety problem.
Step 3: Snug the Straps and Do the Two-Finger Check
Fasten the quick-release buckles and work front to back. Tighten the chest strap first, then the body straps, then go back and recheck the chest. Tightening in the wrong order pulls the whole vest sideways and leaves you wondering why it keeps drifting. The Outward Hound buckles release with a squeeze and re-fasten positively, which matters because you will be doing this in a parking lot with cold, wet hands more often than you expect.
The check is simple. Two fingers should slide under a tightened strap with mild resistance. One finger sliding through easily means the strap is loose. Three fingers, or a struggle to get two in, means it is too tight. Run this check at every single adjustment point, not just the one you can reach without thinking, because the strap you skip is the one that will rub.
A properly snug vest will look slightly compressed at the edges of the flotation panels. That is correct and it is what you want. What you do not want is fabric bunching into a hard fold. Run a hand along the inside of every strap path and feel for a ridge, a seam sitting proud, or a buckle pressing into the coat. If you find one, loosen that strap a quarter inch and reset.
Last pass: pick a spot on the vest at the back and give it a firm but gentle tug upward. It should move with the dog's body, not slide up over the ribs. Anything that lifts independently of the dog is still too loose, no matter how it looked standing still.
Step 4: Test Range of Motion on Dry Land
Before the dog goes near water, watch it move. Ask for a sit, a down, a short trot across the yard, and a treat tossed to the side so the dog turns and reaches. The shoulder should be free. The front legs should reach forward without the vest pulling across the chest. A vest that stops the dog from stretching out is a vest that will stop the dog from swimming well.
Then do the lift test again now that the dog has moved around. With the dog standing square, slide your hand under the vest at the back and lift gently. The whole vest should come up with the body and settle back down in the same place. If it rides up over the ribs, the body straps are still not snug enough, and it will do exactly that in the water where you cannot fix it easily.
Juno gets a few minutes of off-leash circles in the fenced backyard in any new gear before we drive anywhere. It is not a formality. If she is baking in the vest, refusing to sit, or walking stiff-legged, that is information, and it costs nothing to learn it at home instead of at the reservoir.
Step 5: Do a Controlled Water Test, Then Recheck
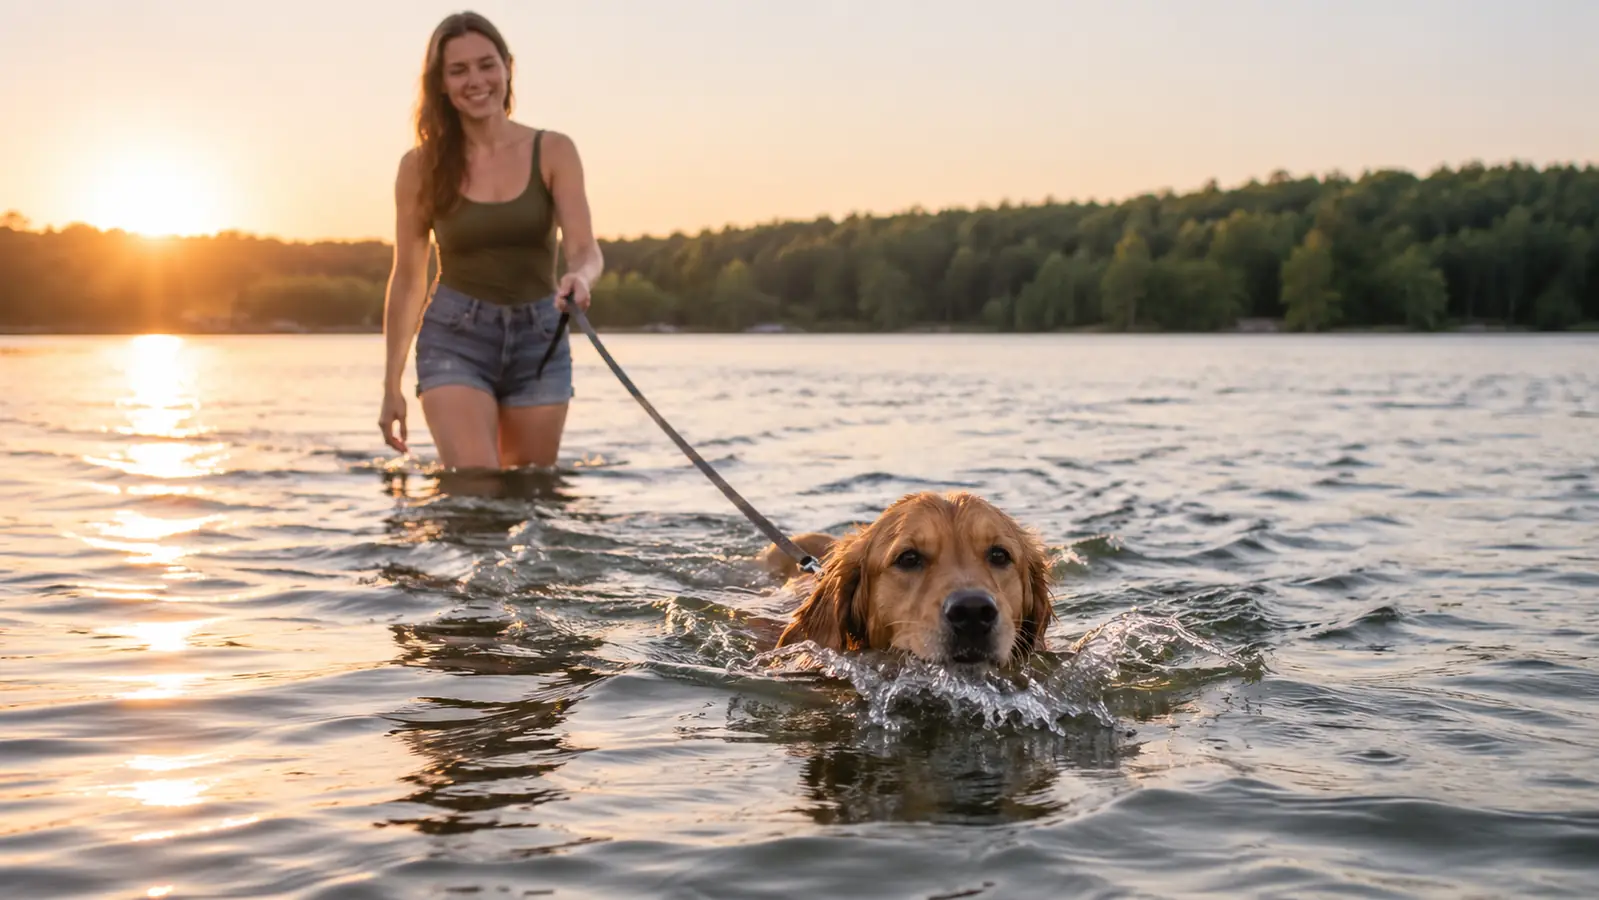
Start in water the dog can stand in, on a long line, with the vest on and every strap set. Let the dog choose to swim. Do not throw a toy into deep water and hope, even with a strong swimmer. Watch three things: whether the chin stays clear of the surface without the dog straining upward, whether the rear end floats roughly level with the shoulders, and whether the front legs reach forward instead of paddling straight down.
If the back end sinks, the vest is sitting too far forward or the body straps are too loose. If the chin is high and the vest is pressing at the throat, the vest is too far forward again. If the dog is swimming flat and level and looking ahead, you have it. Make corrections on shore, not in the water, because adjusting straps while a dog paddles is how people get pulled in.
After the first real swim, recheck every strap. Wet webbing behaves differently from dry webbing, and a vest that was snug in the driveway is often a notch loose when it is soaked. I check Juno's straps again after each of the first three swims of the season, then once at the start of every session after that. Rinse the vest in fresh water after lake or salt water, and dry it fully open rather than balled up in the back of the hatchback, because a vest stored wet all week will start to smell and the straps will stiffen.
What Else Helps
Fit is the floor, not the ceiling. The rest of what keeps a dog safe on the water is habits, and they matter as much as the vest does.
Conditioning. A vest adds buoyancy. It does not add stamina. Juno will swim until she is spent if I let her, so I cap water sessions the way I cap fetch: two or three short sets with a real break on shore in between. A tired dog in deep water is not a training problem, it is a drowning risk.
Heat. A dog wearing a life vest on a sunny afternoon is a dog wearing an extra layer. We swim early or late in the summer, and I check the water temperature before I check anything else. If the air is hot and the water is warm, the session gets shorter, not longer.
A long line. Ten to fifteen feet of thin line lets you guide a dog back to shore without grabbing at the vest in the water. It also gives you a way to stop a dog that is heading for a boat channel.
Exit practice. Teach the dog how to get out of the water before the day it needs to. A steep bank, a dock ladder, or a boat swim step all take practice, and a dog that has never done it will tire itself out against the edge while you try to figure out how to help.
Young dogs and older dogs. Puppies and seniors both lose heat faster and tire sooner. If your dog is under a year old or past its eighth birthday, cut the session length, keep the water shallow, and watch for shivering or a flat, glazed expression. Pull the dog out on the first sign of either.
A seam check at the start of each season. Run your fingers along every stitched edge and look at the webbing where it passes through the buckles. The Granby Splash has held up through several seasons of Juno's swimming and hiking with nothing more than a rinse and an air dry, but I still check it in April before the first trip, because a frayed strap is the kind of thing you find at the worst possible moment.
Juno measures 26 inches around the ribcage, one inch inside the top of the Medium window. That inch is the difference between a vest that adjusts and a vest that only appears to.
Measure, settle, snug, test, recheck. That is the whole method.
The Outward Hound Granby Splash in size Medium covers chest girths from 21 to 27 inches, with adjustable straps and quick-release buckles for refitting at the water's edge as the season and the coat change.
Amazon Check Today's Price on Amazon →